When purchasing corner guards, it is important to know the 3 main fastening options that come standard with all corner guards and the installation te
Installation Method #1 - Construction Adhesive
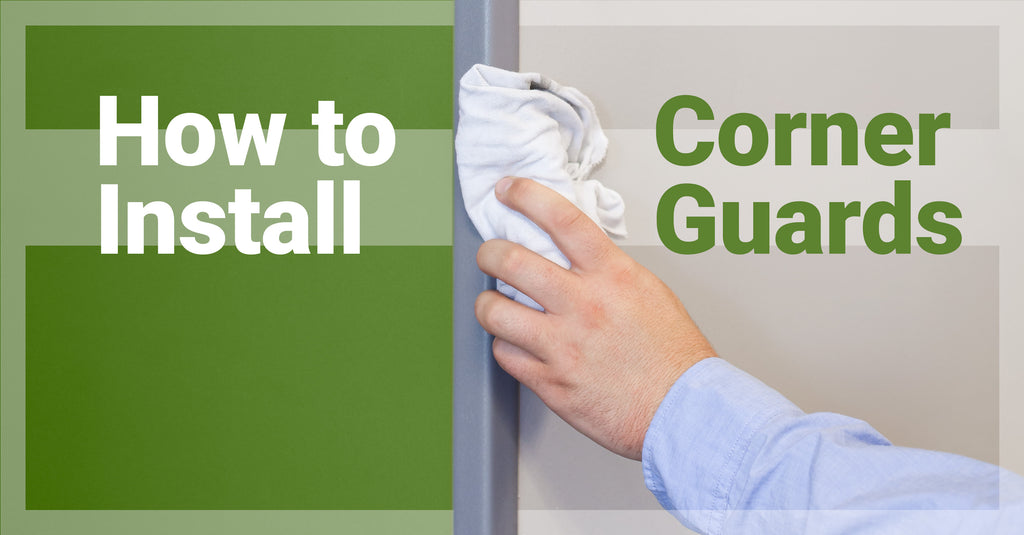
- Prep wall surface by cleaning.

- Double check height measurement and fit of corner guard. Cut to length if needed.

- If you need to cut the corner guard, mark where you need to cut and use either a miter saw or snips.


- Apply .25” wide bead of adhesive to the back of each wing of the corner guard. Make sure adhesive is applied in the center of each wing to keep the adhesive from squeezing out.

- Align the placement of the corner guard on the wall beginning with the bottom of the corner guard. Once aligned press corner guard onto the wall surface gradually working your way up.

- Apply pressure to the corner guard to ensure proper adhesion.

- Wipe down any excess adhesive immediately before curing.

- Consult adhesive label for information regarding set time and cure time.


Installation Method #2 - Double-Sided Tape
- Prep wall surface by cleaning.
- Double check height measurement and fit of corner guard. Cut to length if needed.
- Remove the backing of the tape from one wing of the corner guard.

- Begin peeling a 3” section of the backing of the tape on the opposite wing, leaving the 3” section accessible from the outside of the corner guard.
- Place corner guard against wall focusing on ensuring that the taped side is in place evenly against the corner.
- Once taped side has been placed, peel the remaining backing by pulling the exposed 3” section away from the corner guard against the wall.

- Press the corner guard firmly against the wall on both sides to ensure that the pressure-activated tape is able to adhere fully.


Installation Method #3 - Fasteners
- Prep wall surface by cleaning.
- Double check height measurement and fit of corner guard. Cut to length if needed.
- Hold corner guard against the wall at the exact location of installation.
- Using a pencil, mark the location of the pre-drilled holes on the wall surface.
- Remove corner guard from wall and pre-drill in the marked locations using the appropriate drill bit size and type for your wall surface.
- Once all holes are drilled, clean any dust or uneven marks around the holes from the wall.
- Place corner guard against the wall at the pre-marked location, and install the supplied fasteners into the pre-drilled holes using a screwdriver or power drill. Depending on your wall substrate, you may need to consider the addition of anchors or toggles to assist in fastening.